Showing posts with label DIY. Show all posts

Wall Decor- Animal Busts

July 23, 2012

The living room is slowly (and I do mean slowly) coming together, but I hate the wall that is just below our stairwell. I have since replaced the black and white canvas picture with a canvas wedding picture, but it still looks very, very bare.


I originally wanted a collage of pictures/artwork, but thought it may be too much with the hanging mirrors that are on the wall above the stairs. Now that I've been living with a bare(ish) wall for a while, I've decided it needs more. 

I have a few items that are part of an art collage in our study, but I think I'll just leave that one there (and take a picture so I can blog about it) instead of moving it to a different wall. This will give me an excuse to collect some new items to add to our new collage wall. And now that I've looked at the above picture again, I think I'm going to go with a solitary color scheme or maybe white with a few variations (like beige or grey) so that it doesn't feel too cluttered or overwhelming.

The first item I would like to add is an animal bust... I've wanted one for a while, especially after seeing the one in Kelsey's awesome dining room. This was further confirmed when I finally went into the new Z Gallerie in Austin. The only thing holding me back is my indecision!

Option 1: Ceramic. I should note that these are much smaller in person. I envisioned them to be a bit larger for some reason...

Ceramic Rhino Head || Z Gallerie


Option 2: I love that it's abstract, but hate the color.  Perhaps spray painted white? Although, I'm not sure how recycled cardboard would hold up under spray paint... (And also, I can't really see myself paying ~$50 for cardboard)

Cardboard Deer Bust || Urban Outfitters

Option 3: Resin Animal Busts. To be honest, these are my favorite, but I'm a little unsure of how the resin will actually look- I would like to avoid putting up something that looks plasticy or cheap, as doing so would definitely instigate questions from my husband about my decision to put one of these on our wall ;)

White Resin Rhino || Mahzerandvee
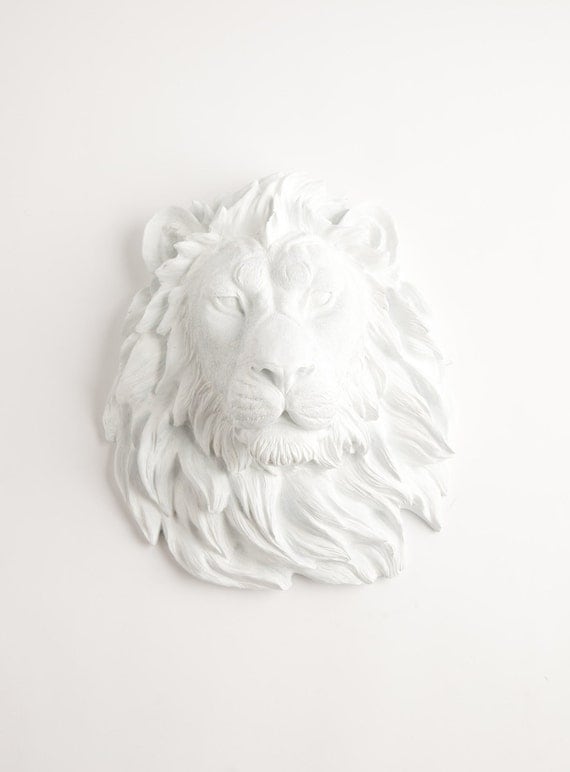
White Resin Lion || Mahzerandvee

White Resin Lion || White Faux Taxidermy


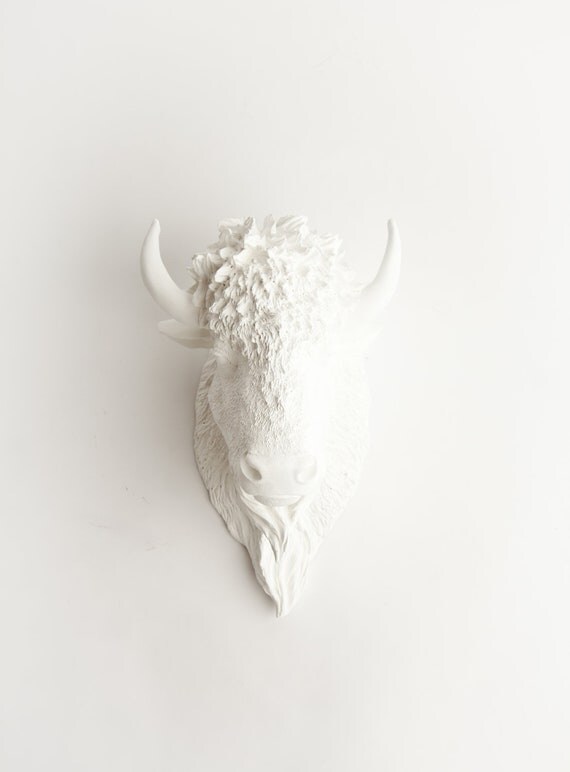
White Resin Buffalo || White Faux Taxidermy

ETA: I'm not sure which one of these shops opened first (it appears the one cited in the first and second photos- based on their etsy shop opening time/sales history, but one them appears to be blatantly ripping off the other one's ideas/art/creations- a major pet peeve of mine.). For an even better example than the lions... see the wolf (1) and wolf (2). I actually found the second shop first (confused yet?) and was *this close* to ordering from them on Friday, and then I found the first shop today. SO now I'm not sure what to do- what would you do? I don't really want to make assumptions about either shop, but it makes me very sad :/

These are pretty neat, but stray from my "all white" goal:

Wall Paper Deer || Ruby's Lounge
And of course, being a lover of all things DIY, I could always paper mache my own or create one from this foam template...
Share/Save/Bookmark

Let's Talk Paint

June 26, 2012

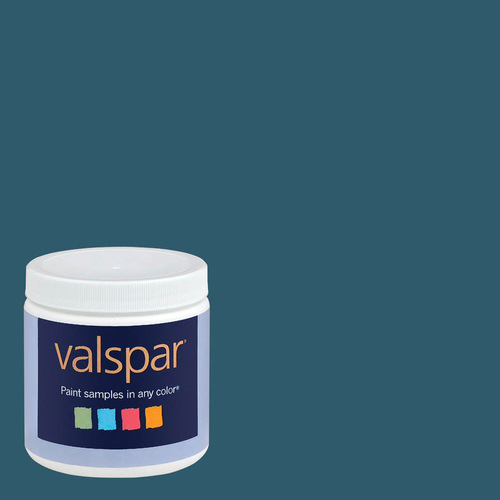
On Sunday, I went to Lowe's (my favorite of the two big box hardware stores..) to look for some paint. It is for this project, which is coming together quite nicely :) First I looked at the spray paint section, and was utterly disappointed by the lack of color options. I had really hoped that a hardware store would have a better selection of spray paint than Michael's, where I had also been to that day. Frustration settled in as I realized I would have to hand/brush paint this project if I wanted a decent color *sad face*. I finally narrowed my choices down and picked samples of Valsapar paint:

Gypsy Teal

Danish Blue

I sanded. I primed. I painted with the Danish Blue paint using my purdy brush. Meh. I loved the color, but I wasn't getting the evenness or color saturation like spray paint. I think the important factor here was the quality of the wood I was trying to paint- it is a plywood/oak (maybe?) consistency, which made every. brush stroke. visible. NOT the look I was going for...

On a second trip to Michael's, for some other craft supplies, I wandered over to the art supply section and was pleasantly surprised when I stumbled upon the mother load of spray paint:

Liquitex
I have used other paint products from Liquitex and love their quality, so I was quite happy to see that they 1) make spray paint and 2) that Michael's now carries it!!  It's a little on the pricey side (as far as spray paint goes) at $12 a can, but with a Michael's coupon from my phone, it dropped it down to ~$7, which was a little easier to swallow. Plus I found a color I LOVE.

This paint is usually used by grafitti artists... but I decided to try it out on furniture anyways. My project is in the last stages of drying, but I'm hoping to give an updated with pictures of a COMPLETED PRODUCT later this week!!

Share/Save/Bookmark

Gold Leaf + Furniture: Part I

June 20, 2012

I'm not sure when I decided that gold was such an awesome color to have on furniture. I used to think it was kind of tacky, and only belonged in stuffy estates. No more, I tell you!

If you remember, a while back, I scored two awesome end tables on craigslist for $50 (I am still excited about this!!). Originally, I was going to paint them with a white or black lacquer. That was before our coffee table arrived and I discovered that the stains on the end tables + the coffee table top almost nearly matched. AND I loved it. There were only two problems: 1) There was some damage on the table legs- nicks & scrapes- where the stain was uneven or coming off, so I really wanted to re-stain them; and this lead to problem 2) The tops of the side tables are laminate, meaning I can't re-stain the tops (or I could try, but I don't think it would end up looking right).  I really did not want to leave the tops as is, with a new coat of stain on the rest of the table... because that would probably look off too.

For a while, I thought about painting the tops.  Sort of an inverse of these (because I've found it nearly impossible to find any images of painted table tops, with wood stained bottoms):

Pink Postcard via Pinterest
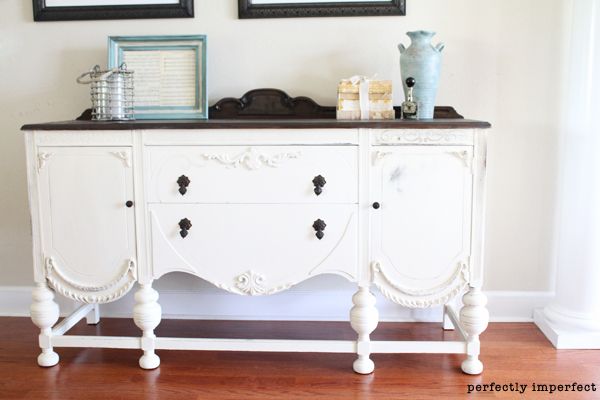
Perfectly Imperfect via Jill on Pinterest

Modg via Apartment Therapy

Or, like this (ahem, after further googling, this was the ONLY image I found that depicts what I'm trying to accomplish):

via Rachel Bishop Designs

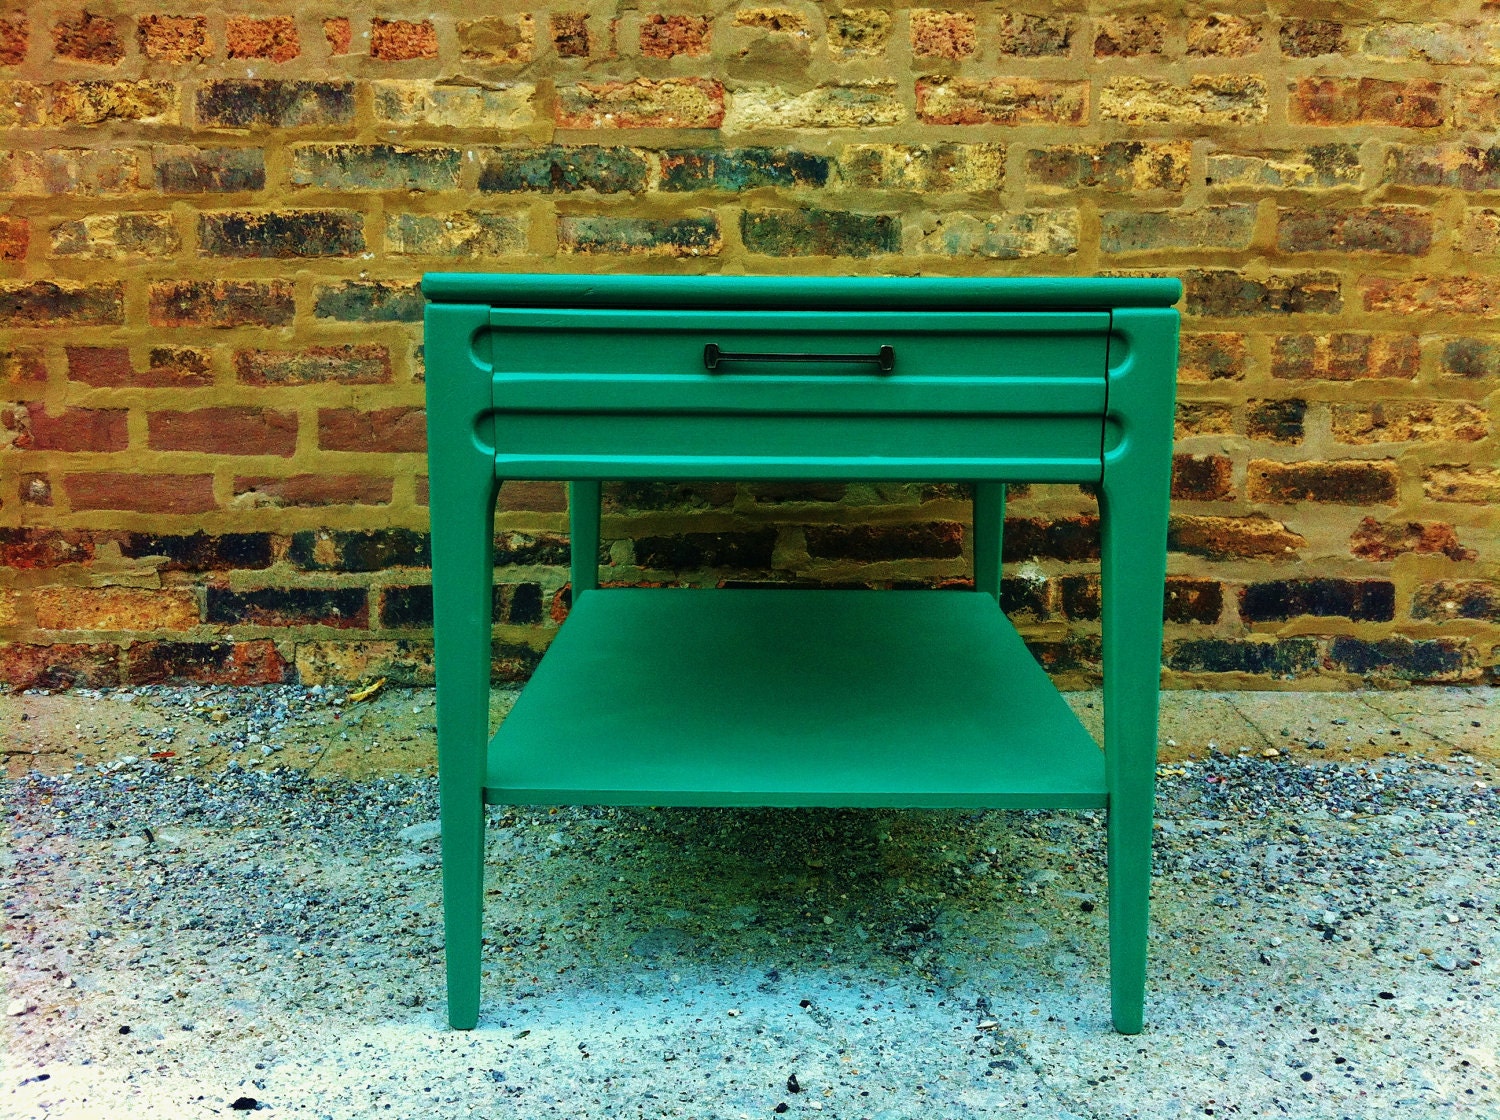
Anyways, after deciding the end tables would be stained with some sort of painted top, I had to decide on a color. I didn't really like idea of a black, gray, or white top (it doesn't go with the overall look/feel of our sofa + coffee table). I was leaning toward a shade of blue or green, but as much as I love these brightly colored pieces:

via Centsational Girl
via House Candy L.A. on etsy
via Nice Thing on etsy
via Young and Broke on etsy

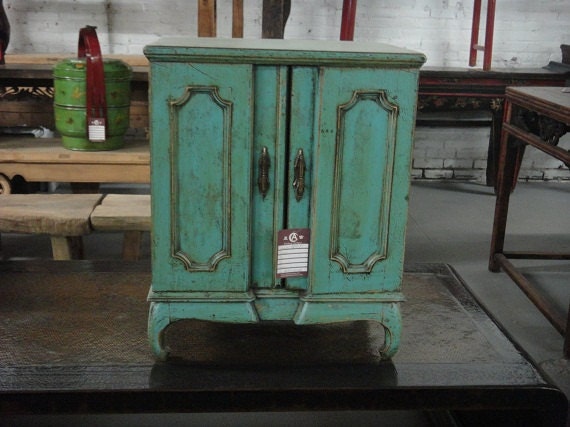
(almost the exact same table!!) via Mint Home on etsy


I wasn't sure I could commit to having such a dominant accent as a permanent fixture in our living space (even if it was just the table top I was painting). Decisions, decisions....
Share/Save/Bookmark

Full Circle

June 19, 2012

Once upon a time, long ago, I started sewing curtains for our master bathroom. There used to be curtains hanging made from this fabric:

Joel Dewberry || Aviary-Sparrows (Almond)**

I love this fabric in the fall (Joel Dewberry is one of my all time favorite fabric designers!!), but come spring it was a little too, um.... fallish? Great description, huh? I thought so too. So, thus began the search for new fabric(s).

**Note Bird is not as creepy in person

I ordered several yards of fabric in an array of blues and greens, with the intent of creating something like this:


Turns out I was not patient enough to sew these strips into a cheveron pattern, and they became this instead:


Then I found this great cheveron patterned home dec. fabric (from here), and decided I would sew that into curtains:

Premier Prints || ZigZag (Village Blue/Natural)
I have one panel half way finished and hanging in the bathroom. I'm thinking that maybe I haven't finished sewing them because I've lost interest in this pattern and want something different (yet again).

So today, while browsing through fabric online, I discovered that this store carries fabric by designer Thomas Paul. *Cue a chorus of angels*

I am seriously smitten with all of the furniture I've seen upholstered in this fabric. And today, I came across this bird yardage:

Thomas Paul || Perch (lilac)
Five minutes later, four yards of this fabric were in my shopping cart ready to checked out. Hopefully it will be on it's way to me soon!! Maybe some curtains will be hanging in the bathroom by next month :)


ETA: Oooh and I found a pic of what it looks like in action:

Lonny || via Dana on Pinterest


Share/Save/Bookmark

Bronze vs. Brushed Nickel

September 12, 2011

The age old dilemma.  Or at least the dilemma that is swirling around in my mind at the moment.  The problem is that we've replaced some of the light fixtures around our house and the new ones happen to be bronze.


The new fixtures {hall way, bathrooms}:

(both via Home Depot).  Honestly, I probably would not have normally chosen to install these, but 1) they were very cost effective and 2) they match the finishes and look of the living room fan and the light in our dining area, that, I might add, were both installed by the previous owners.

So, with that in mind.... I would like to spray paint our door knobs, towel rods, and maybe sink faucets (sans the kitchen faucet and the metal surrounding the shower in the master bath) ala Young House Love.  Right now our faucets are  either silver/gold, or silver and the door knobs are all ugly gold.  In other words, they don't match AT ALL and I would like them to all match.  Would you (spray) paint them all bronze or all brushed nickel?  Is it weird for the finish on the lighting to differ from all the other metal accents?  I'm leaning towards bronze, but things like the metal surrounding our shower (could one even spray paint that?) not matching any of the other metal finishes in the bathroom bother me.  And if one bathroom has bronze accents, shouldn't they all?  And if the bathrooms have bronze accents, shouldn't the door knobs match?  Obviously this is an issue that should be tackled at the same time, and not room by room... like I'm doing.

*sigh, lesson learned*
Share/Save/Bookmark

Mirrors Continued

June 20, 2011

Last weekend I finally finished the mirror project:


Mirrors (spray painted): Target; Hooks: Anthropologie; Ribbon: JoAnn's

I was really looking for these hooks, but Anthro did not have them in stock.  I found the white ones and I like the way they sort of blend into the wall.  Luckily, they had exactly four in stock when I found them :)

Here's a breakdown of the cost:

Mirrors (4, Target Clearance):  ~$44
Spray Paint (1 can, Lowes): ~$5
Hooks (4, Anthropologie): ~$40
Ribbon (left over from our wedding, JoAnn's):  $0

Total:  $90

That's a little more than I wanted to spend, but I think the project was a success.  I tried to find some cheaper hooks and was unsuccessful (I think I had already had my heart set on the hooks from Anthro). 

My ultimate goal is to replace the black & white church picture with an array of black frames. And yes, that is the Karlstad sofa assembled :)  It's not very noticeable, but I also spray painted the feet- inspired, of course, by this post. I love it, my husband loves it, my dogs are not allowed to sit on it, but they love it too. We have since changed out the slip cover for this one.  It's amazing how much it lightens up the room (pictures to come).
Share/Save/Bookmark

Framed: Black or White?

June 16, 2011

I've been having this internal dilemma as I start organizing items for my array of pictures (of which I'm still deciding the location).  What is this debate you ask:  Do I go with white frames or black frames?   I figure worse case scenario, if I change my mind later on, I can always go back and paint them one way or another.

black

*Not sure of the source* via Lydia on Pinterest
Scandinavian Retreat via Caitlin on Pinterest
Seen & Said via Kathy on Pinterest
Space for Inspiration/ Domino via Megan on Pinterest
Family Photo Wall Display via Lyka on Pinterest
Emily Clark via Kelsey on Pinterest

OR white

Few Things From My Life via Morgan on Pinterest
Laura Winslow Photography via Sara on Pinterest
Boy Wonder/ Samantha Pynn via Kelly on Pinterest
Young House Love via Kayla on Pinterest

Houzz/ Tracy Murdock via Jennifer on Pinterest

OR mismatched

Peonies For Me via Giulia on Pinterest
*Source??* via Katherine on Pinterest
Ohdeedoh via Amy on Pinterest
Design*Sponge/ Matthew Bird via Alicia on Pinterest

OR some other color

*Source??* via Shannon on Pinterest
The Estate of Things via Liz on Pinterest
Southern Living via Kyndel on Pinterest
Live.Like.You/ Ryan Korban via Mary on Pinterest
Way too many options....

Share/Save/Bookmark

A Bookcase Redone

June 15, 2011

As I mentioned here, we moved my "Billy" bookcase into our office for the time being.  I didn't reattach the doors because I didn't want to drill a big hole in the wall (it has to be attached to the wall otherwise it is too front heavy and it WILL fall over).   After seeing it sit empty for several months, I decided it needed a face lift.  I had been looking everywhere for a wallpaper print that was 1) inexpensive 2) not too busy.  Finally I found this Graham & Brown paintable wallpaper:


I've never applied wallpaper before, so I will say this:  it is a huge PITA.  I applied the paper to the back insert of the bookcase while it was on the floor, and it was a messy, tiresome process (does practice make perfect in this case?).  I can't imagine doing this to walls or a ceiling.  Also, this wallpaper states that it is paintable, but it is really hard to get paint into all the little crevices.  I used both a brush and roller... and it still took several coats and some touch up.  I think maybe if I would have used a darker paint color, it would have been easier to see where the paint was being applied, and maybe would have taken less painting time.

That being said, here is the result:


Organizing and decorating the bookcase is a work in progress, but I think it's off to a good start.


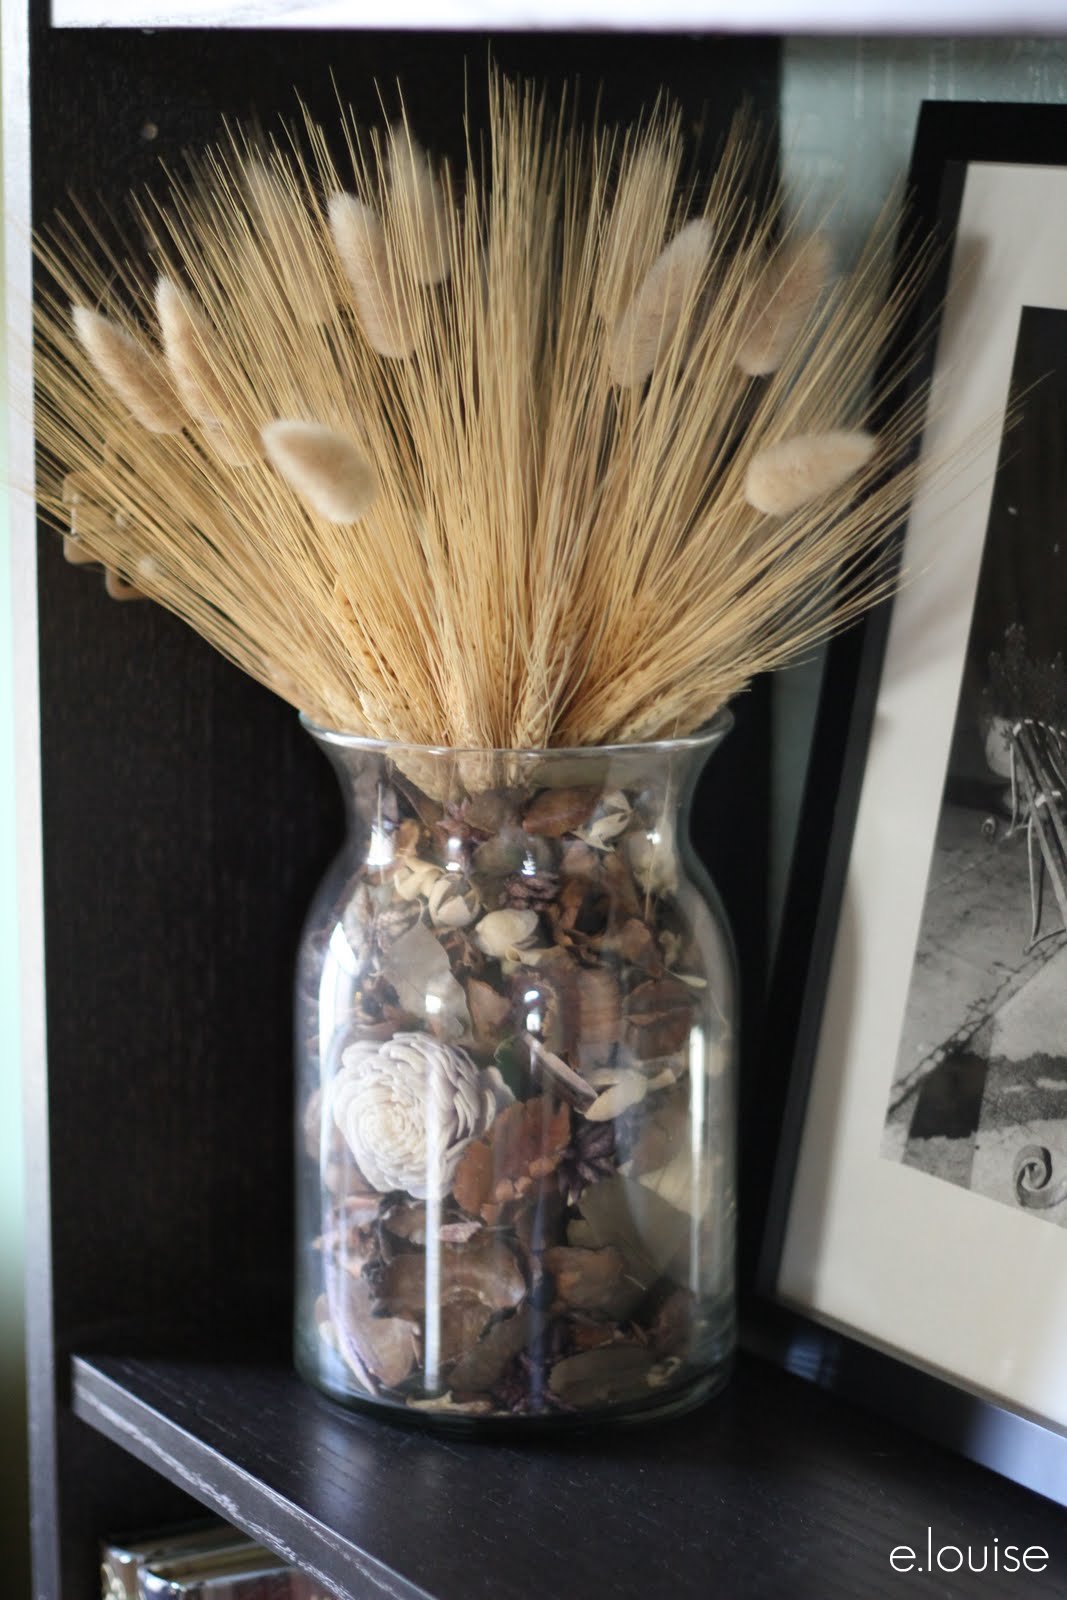
The large blue and purple vases on the topmost shelves are from IKEA (the smaller blue vases are heirlooms from my Oma).  I made the terrarium in an empty, cleaned out Bath & Body Work's candle, the wheat/dried flower vase is a left over centerpiece from our wedding, the tea cup is a favor from one of my bridal showers, and the 'X' & 'E' are cardboard letters mod-podged with decorative paper from Paper-Source (I'm still in search of an '&').

I'm still figuring out what to do with the 4th shelf from the top- more books, perhaps? 

Share/Save/Bookmark